
 My sister Julie and her husband are expecting a baby boy, so I thought they might need a quilt for June Bug, as they're calling him.
Not a fancy quilt for display, but a hard-working utility quilt that he can play on and drag around, and that can be tossed in the wash. So, taking a page out of the past, I resorted to the rag bag and have assembled the simplest of quilt tops.
At left, the completed quilt top
Rag Bags
Rag bags used to be common: when clothes and other textiles outlived their original uses or began to look tatty, they'd be recycled. Small pieces would end up in a rag bag to be pulled out later to live again as cleaning rags or quilt block pieces.
Over time I've filled quite a fat rag bag. Any piece of clothing too ratty to be given to charity was cut up and the buttons and zippers saved for reuse. For this quilt I pulled from the bag remnants from some of my husband's old striped oxford shirts, a couple of pairs of jeans and other slacks, and bits of fabric left over from a skirted table project.
Piecing the Quilt
 Each quilt block is just one piece of fabric, cut 5 inches square. Once all the pieces were cut, I laid them on the floor and played around until I got a pattern I liked.
At left, two samples of blocks sewn together into strips.
Then I sewed strips of blocks together, making the seam allowance the width between needle and edge of the presser foot, which is about a quarter of an inch. After that I sewed the strips together.
 I only had to pay careful attention to a few things. I had to line up the blocks on each row when sewing the strips of blocks together. No matter how careful I was, not all blocks were exactly 5 inches square. After all, I used scissors when cutting them, not a rotary cutting wheel, and they were cut out of bits of fabric, not nice neat "fat quarters" meant for quilting. To make up for this I pinned the each strip to the next very carefully, easing each block to fit to the next, easing just like I might a curved seam on a collar. It worked pretty well! Only one row is rather too far off.
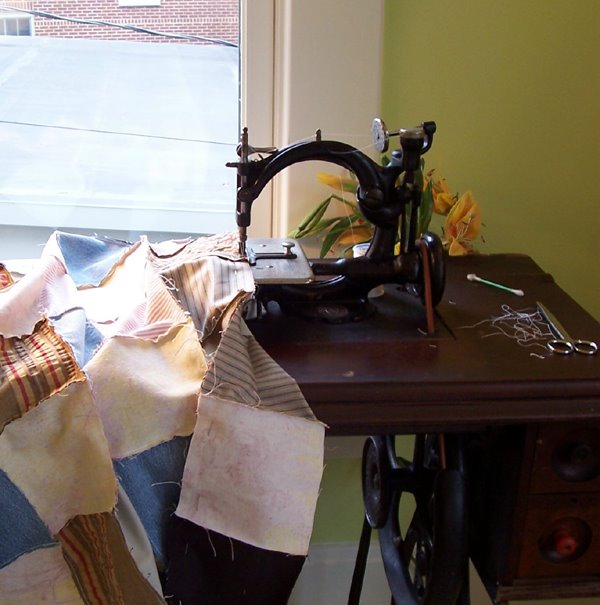
At left, the strips of blocks are sewn together on the Willcox and Gibbs chainstitch treadle machine.
- I also had to make sure all the seams butted up to one another in the same direction throughout. Careful pressing of the seams all to the same side before sewing helped.
Now it's time to embroider "June Bug" on a block and then add a thin cotton batting and a backing of plain blue check fabric. I will bind the outside edges with a heavy-duty quilt binding.
No comments:
Post a Comment