In answer to a question about the early Edwardian extant bodice, part of the gown that's joined my collection, here are more details, including measurements (looking at you, Mrs. C!)
If you're interested in minutiae with an eye to using what's there in your own work, read on. Otherwise, be warned...it's mostly up-close shots and numbers :)
 |
| Bodice front. Note that the elbow puffs are really visible, while the back-facing puffs at the cuffs are smaller. Also note how the center front and back bodice bottom are almost at the same level, while the sides aren't quite as long...the bodice is not even across the bottom. |
 |
| The back is closed by 20 buttons in a 15" length. Three buttons are missing. The bodice closure underlap, which is in one with the bodice front, 1 1/8" wide. |
 |
| Each button is silk-covered (most buttons have lost the covering) and is about 1/4" in diameter. |
 |
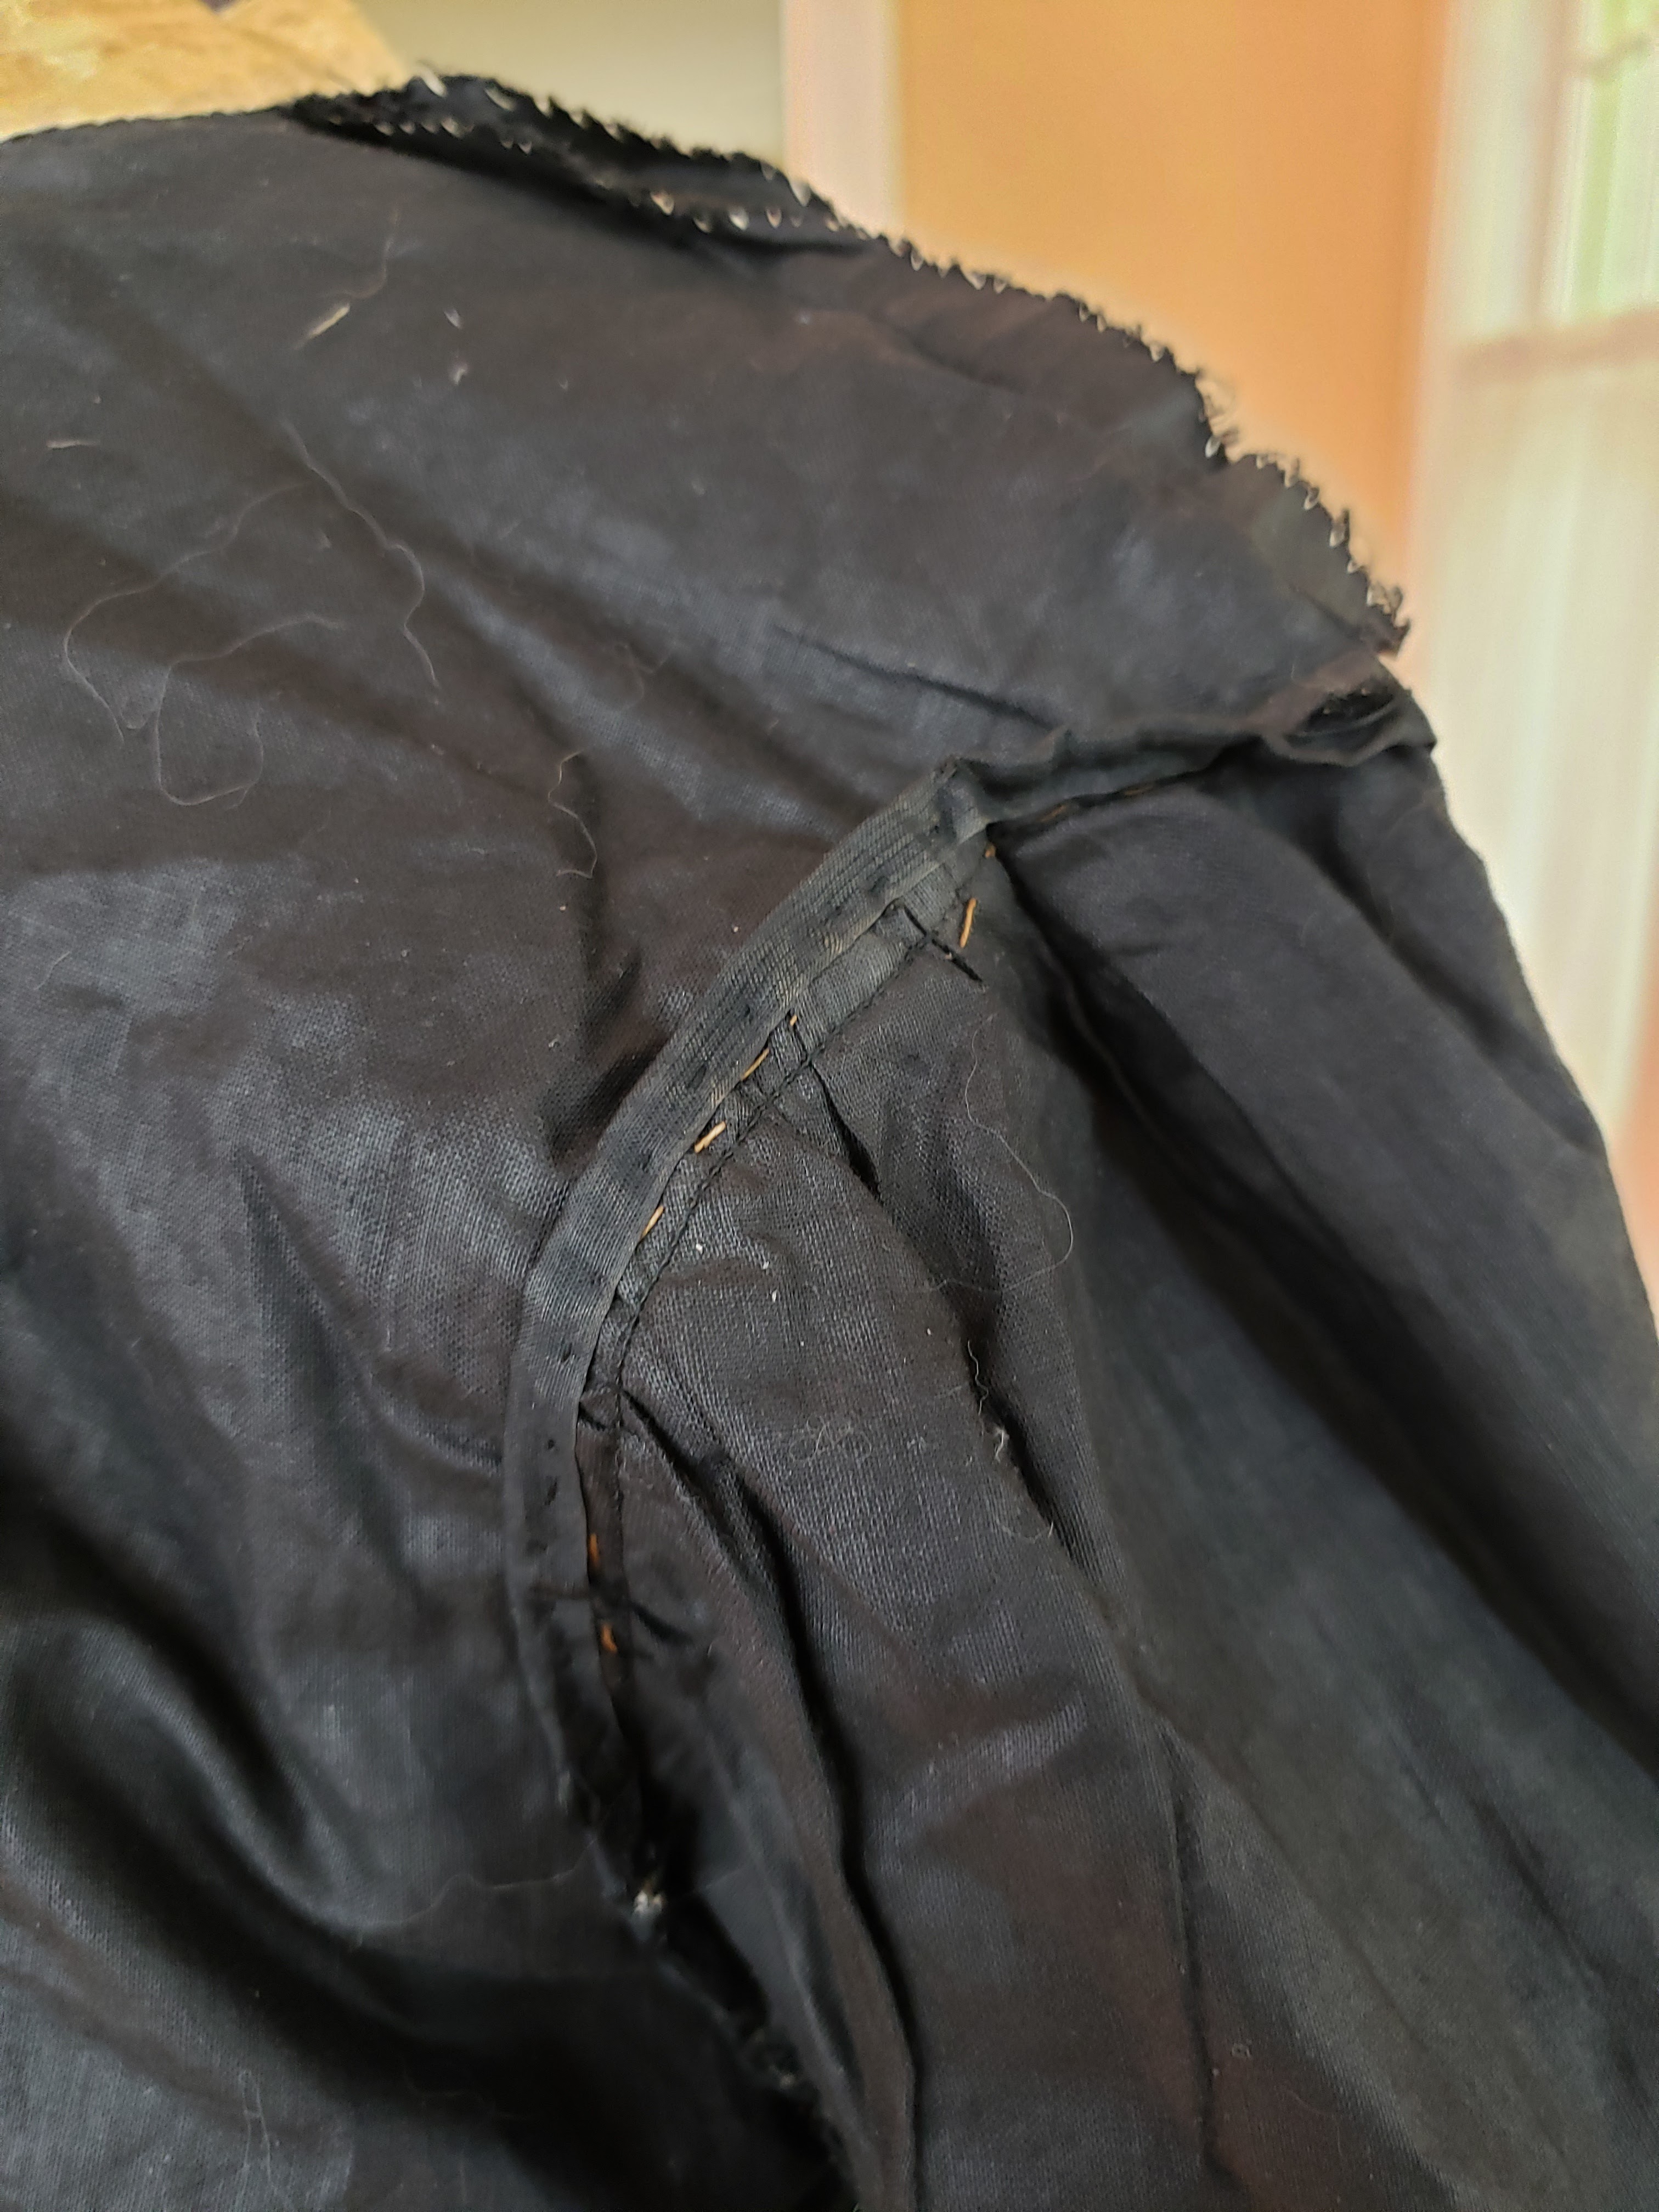
| The buttons are sewn through the silk and two layers of the lining. The lining has just over an extra inch width that was folded back towards the center of the lining, to provide a strong surface for the buttons to be attached to. The shank-style buttons are sewing with what looks like buttonhole twist, a strong, thick matte thread. Each shank is wrapped with thread many times to make a very strong connection and the end of the thread is tightly knotted on the back. The buttons are all sewn separately, not with the thread going from button to button, as in some bodices. |
 |
| Settling the bodice opened flat, I've drawn a line approximately where the lower bodice would stop being visible when worn, with the bodice bottom tucked into the skirt. Some bodices included hooks or eyes that attached to their corresponding eye or hook to hold skirt and bodice together. No evidence -- holes or thread -- exists to show that was the case here. |
As you can see from the pictures above, a bit of the cut of the bodice is apparent:
- the front bodice piece and each of the two back bodice pieces are about the same length
- the two side pieces are shorter
- the center bottom of the front piece appears to be curved, and the tuck-in fabric less than an inch long, while it's about 3 inches at the back closure, decreasing towards the side pieces.
At first the variation in length confused me. While the sides might be shorter than front or back as men's shirts have been for some time, and thus be a sort of tradition, I think that pushing a lot of fabric into the side of a tight-fitting skirt would easily spoil the silhouette, so it has a practical purpose. Ditto for the front: the last thing the wearer wants is a front that's bulging with tucked-in fabric,even with a belt to cover part of it. In the back? Well, there can be a little more space there and the center back closure and belt offer cover, if you will.
Bodice Fashion Fabric Cut, Front, Side and Back pieces...
Not the sleeves right now. My brain is pooped.
What is the approximate shape of the pieces of fabric that make up the bodice? I am no good hand at measuring and drawing out a pattern from an assembled garment, and worse when it comes to a garment that's still in relatively good condition so that one cannot see the different layers. Yet here are a few measurements.
Back piece (left side with buttons)
- 19": front piece length from top of front piece at underlap edge, down to bottom
- 2": top of front piece at neckline, to buttons, 1" buttons to end of collar, almost 3/4" width of underlap after end of collar, for a total of 3 3/4" approximately. Curved.
- 19": length of front piece from top of shoulder at neckline to bottom
- 7 1/4": width of front piece from juncture of armscye-shoulder juncture to edge of underlap
- Tucks pattern from juncture of armscye-shoulder juncture to edge of underlap: 1 1/4" space, 5 tucks, each approximately (by no means perfectly even among them) 3/8" spaced; then 1" space, then 8 tucks ditto, then 1/2" to vertical line where all buttons are sewn, then approximately 1"
- 5": length of front piece shoulder seam from armscye to neckline
- 15 1/2": length of front piece running from end of shoulder seam at armscye straight to bottom
- 5 3/4" long portion of front piece running in curve from side seam juncture to shoulder seam
- 10": side seam from armscye to bottom
- 8" wide from corner where side seam meets armscye
- 5": where tucks end, measured edge to side back seam. Includes self underlap that sticks out horizontally to hide any show-through when bodice is closed. Note: at this level a small inverse box pleat is taken near center bottom of tucks
- 10": at bottom when stretched out
Back piece (right side with buttonholes) (has a different number of tucks!)
- 19": front piece length from top of front piece at underlap edge, down to bottom
- 1" front piece at neckline from center edge to first tuck (buttonholes are put in this space); 1 1/2" top piece a neckline to neckline-shoulder seam junction. Curved./
- 18 1/2": length of front piece from top of shoulder at neckline to bottom
- 7": width of front piece from juncture of armscye-shoulder juncture to closure edge (there is a little fullness at this level that was hard to include, but I did my best
- Tucks pattern from juncture of armscye-shoulder juncture to closure edge: 1 1/2" space, 6 (!) tucks, each approximately (by no means perfectly even among them) 3/8" spaced; then 1" space, then 8 tucks ditto, then 3/4"-1" (decreasing from top to bottom" space for the buttonholes, which are each 1/2" long, and shaped like a thin wedge, wider at closure edge than at inner end
- 5 1/4": length of front piece shoulder seam from armscye to neckline
- 16": very approximate length of front piece running from end of shoulder seam at armscye straight to bottom. Lots of fullness and wrinkling
- 5 1/2" long portion of front piece running in curve from side seam juncture to shoulder seam
- ": side seam from armscye to bottom
- 4 1/2" back piece width where tucks end, measured closure edge to side-back seam
- 11": at bottom when stretched out, plus including 1.5 turnback to create facing for closure
Side back pieces
- They are an odd shape, with extension following armscye running upwards to neckline, that's about 3/4" wide and which is largely, but not entirely, hidden in a tuck. The extension about 6" long from where armscye curves, at end of tucks.
- 19" long seam side piece seam from neckline to bottom -- joins to front piece
- 12" armscye seam at top of side piece, very approximate
- 10" long seam side piece from armscye to bottom -- joins to back piece
- 4" side piece across bottom measured from side-back seam to side-front seam.
- 2" each side arrow shape extension at bottom, with length in middle measured straight up to armscye of 12". Is about 1 1/2" deep.
Front piece
- Appears to be an oblong-ish shape with concave curve out of the top for the neckline, and convex curve along bottom. It is extremely hard to measure.
- 20" approximately from center neckline front to bottom...it's probably longer
- 4 1/4" shoulder seam from front piece side edge to neckline (the other 3/4" belongs to the side piece)
- 9 3/4-10" long neckline
- 21" long (approximately) straight down from shoulder seam neckline join to bottom
- 7" longest 2 tucks in center front
- tucks across front graduate slowly down in length down to 6"
- tucks all face inwards on each side, so that looking at the front, the left tuck are sewn pressed to the center, while the right tucks are sewn pressed to the left
Collar band
- 13" inches long finished; 3/4" wide finished (actual standing stock or other collar is missing)
Schematic of bodices, except for sleeves
 |
| Schematic of bodice pieces...and not at all to scale |
Construction of front and back pieces
The tucks on the side pieces disappear into the armsyce, while the seam between front and side pieces is partially, but not all the way hidden by the tucks.
When I first posted this last night, I thought the strange side pieces were really odd. Yet this morning it hit me that this may be a clever case of dealing with a narrow-woven silk. The ad for it (I located the maker) says it's 24 inches and I think it likely as historically silk was woven more narrowly.
Therefore, I think that a likely scenario is that the extensions to the side pieces are there because the silk is narrow, and rather than piecing the wide front, the needed width was made in the side pieces. Then they could have been cut roughly into shape, sewn together, and then tucked afterwards. Or perhaps I am missing another reason the reason for this design element.
They may have trimmed the pieces after tucking, leaving probably different seam allowances depending on which seam it was...we cannot see them, of course, but at under the armscye, for instance, I feel about 1/2" of fabric under there. The side seams and shoulder seams are wide and were whipped together with the lining allowances. This allows for alterations...which I cannot see were ever made.
Each back was tucked, as well, before cutting.
The Videos About the Gown
A whole series of YouTube videos about the gown is available. Watching them you get a better sense of how it looks on and how it looks in the light, although not a perfect one. The taffeta is wrinkled and I do not want to harm it by pressing. Nor I do not have the the best petticoat or drop skirt to put under it (although I do have two trained petticoats of this early part of the period. Many newspapers and magazines of this 1901-03 still recommended a band of hair canvas (haircloth) or book muslin (akin to tarlatan) in the hems to help the bottom frills kick out nicely.
Next Up...
If I get a chance soon, I will measure out the sleeves, too. Had extra time this evening while my husband and boys went to the pool.
Previous post in this series: Tour of an Early Edwardian Silk Taffeta Gown In Photos and Videos: The Bodice