Yesterday we Kentuckians celebrated Kentucky's greatest day of the year, the Derby Day, when all the world visits Churchhill Downs to watch the Run for the Roses.
As we all know by now, Barbaro, a Kentucky born and bred horse, won handily, with another Kentucky horse, Bluegrass Cat, taking second.
And, as every year, most of us spent a goodly time considering our Derby Day sartorial situation, most especially The Hat.
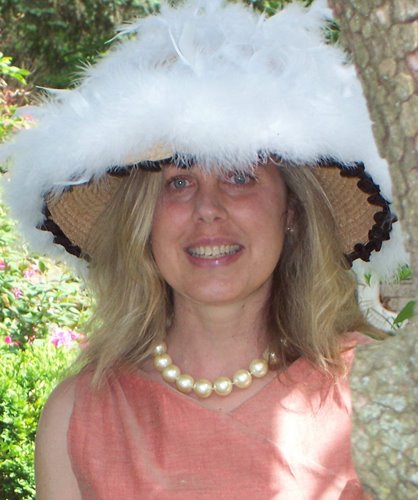
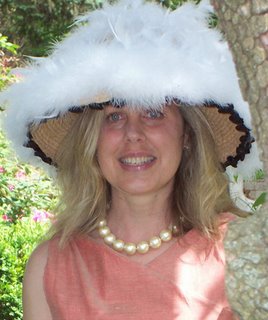
This year I attended our Ladies' Tea Guild Derby Tea, and as instructed, constructed a hat worthy of the august event. It must be springlike, large, and just slightly over the top. The creation at left takes a bow to the Edwardian love of feathers, and is christened the Henhouse Hat. Why should be clear to you, as an awful lot of chickens contributed plumage.
Hat Construction
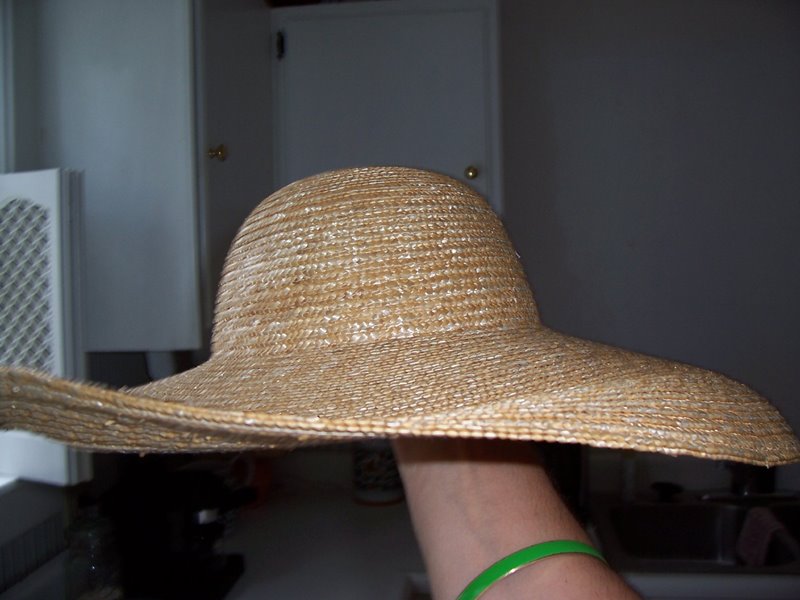
 I requisitioned a favorite hat for this effort, and so constructed it that I can remove all the new trimmings without harming the original. All trims are attached with white thread using the Tie Stitch, a traditional millinery stitch...easy as pie to do, harmless to the straw hat base, and less messy than glue.
The hat itself has a four-inch brim steamed to turn inwards at the edge to frame the face.
About 2-3 inches in from the edge I applied a chicken feather boa about 4 feet long. The feathers in the boa are inserted into a loosely twisted soft cotton string core. I wound the boa around the hat in a spiral pattern. I threaded a beading needle, long and very slim, with white thread and knotted the end. Every 4-5 inches I ran this thread through the boa's core, then slipped the beading needle under a single straw -- never through a straw so as not to weaken it -- and then pulled the thread back up. I wound it once around the boa again, then tied off the thread, making sure the boa sat close to the straw. The boa managed to cover the entire top of the hat.
At the hat brim I attached a maribou boa in the same fashion, wrapping it around the entire brim and then working the remainder into the brim closer to the crown. The maribou softened and lightened the chicken feathers. 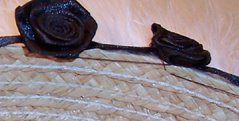
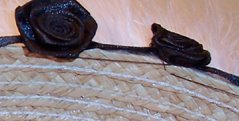
For a final touch I used Chic Boutique black rose trim...individual fabric open roses strung on a black ribbon. I sewed the strip just on the inside of the brim, taking overcast stitches at every rose and trying to ensure that the thread followed the line of the ribbon so it wouldn't be too visible. The roses anchor the feathers somehow so that the hat ends on a crisp note. Naturally the roses are a play on the roses that drape the Derby's winning horse. Hancock Fabrics carries the Chic Boutique trim line, and also the chicken feather and maribou boas.
Overflying Bird Does on My Hat: What Are the Odds?
The hat took about an hour and a half steady work. I trimmed it outside in the sunshine. What are the chances, I ask you, that while I was working a bird flying over would do on the hat in progress? But somebody did...perhaps in protest, perhaps in fear, perhaps to add its own touch. I had to cut out the offending poop with scissors and scrub my hands several times.
Wearing the Hat
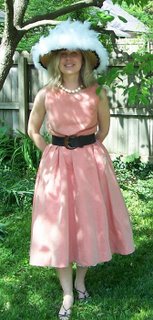 When wearing a hat in the Edwardian manner, it should sit straight on the head, or be tipped to the side, and even be pulled a bit low over the eyes. The hat should never sit back on the head like a halo ready to slip off. This mode is also appropriate for wearing modern hats. Wearing it so requires you to stand straight, pull up your chin, and walk tall, which is good carriage anyhow.
Our Tea Guild members all made such pretty, dramatic, face-framing hats. If I can persuade them, I'll post a group portrait here.
A bit about the dress. The pattern is a Butterick reissue number 6582, View E (full-skirted version). Dress features crossover bodice, gathered skirt, self belt (yesterday I wore a contrasting belt to match my hat and shoes). Fabric is a feather-light Indian cotton lame in shot salmon, from Hancock's. Dress is worn with double-layered net petticoat. The inner layer is slightly shorter and features full hem. Outer layer is finished with a wide lace border sewn in binding fashion...top edge had to be sewn down too to keep it from flapping, and bottom was folded down to create scalloped edge. Pattern: Simplicity 5006, view E. Note I made drawstring waist instead of elastic, which I don't care for.
The dress is a bit loose on me this spring: the bodice should be fitted. Had I had a dress form last summer when I made it, I'd have known to alter the bodice so that the neckline was a little less high as well, perhaps by an inch or so. That way necklaces worn with it would sit better.
Instruction in Millinery
How many times have I pointed you to http://www.vintagesewing.info/? Nevertheless I'll do it again. That site offers several millinery texts online in full, illustrated. Hat design, blocking, and trimming are all covered. Texts date from the 1920s to the 1950s.